Smart Answering eGuide, Part 3: Test and Launch Your AI Voice Assistant
Discover how to test your AI assistant and let it start receiving calls for your business.
Products
Our Platform
SoundHound’s independent voice AI platform is built for more natural conversation.
Solutions
For Every Industry
Find a customizable and scalable voice AI solution for your industry or use case.
Resources
Get the latest voice AI news, keep up on trends, get expert advice, and discover new solutions.
Our Company

Frost & Sullivan Names SoundHound AI a Leader for Enterprise Conversational AI in Healthcare 2024
This 5-part guide is your step-by-step manual for creating an AI voice assistant that is available 24/7/365 to ensure your business never misses a call.
Just like a human employee, your AI assistant should reflect your brand’s unique style, personality, and values. So, as you set up your AI assistant, it’s important to think about the way you describe your products or services and how you normally greet customers.
Investing time in setting up Smart Answering is crucial for enhancing your business operations. The initial effort you put in will pay off in the long run.
We offer a free, personalized demo experience so you can explore key features of the Smart Answering platform to ensure it is the right fit for your business.
To begin, create your Smart Answering account here: https://www.soundhound.com/smartanswering/
Once you have created your account, the next step is to add your business information.
First you will be prompted to input your business name, business phone number, and business type (industry):
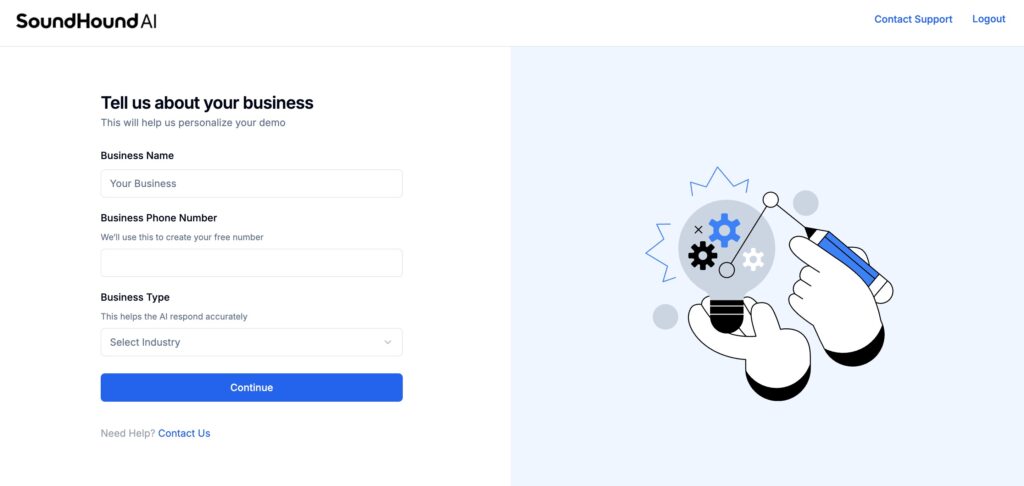
Smart Answering will use these details to generate a recommended greeting and to understand your business better based on your industry. After providing this information, click “Continue.”
Next, you’ll be directed to customize your AI assistant’s greeting. This is also a great opportunity to hear your custom greeting for the first time. To do so, click on Play Greeting to hear your custom voice assistant introduce your business.
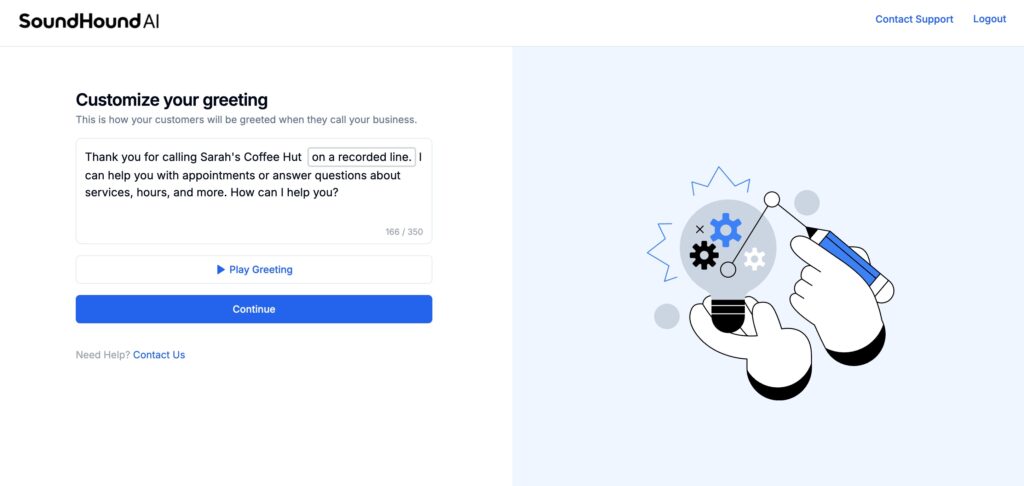
A personalized greeting is your AI assistant’s first impression, so it’s important to get it right:
Next, you will be prompted to provide your business’s location and hours:
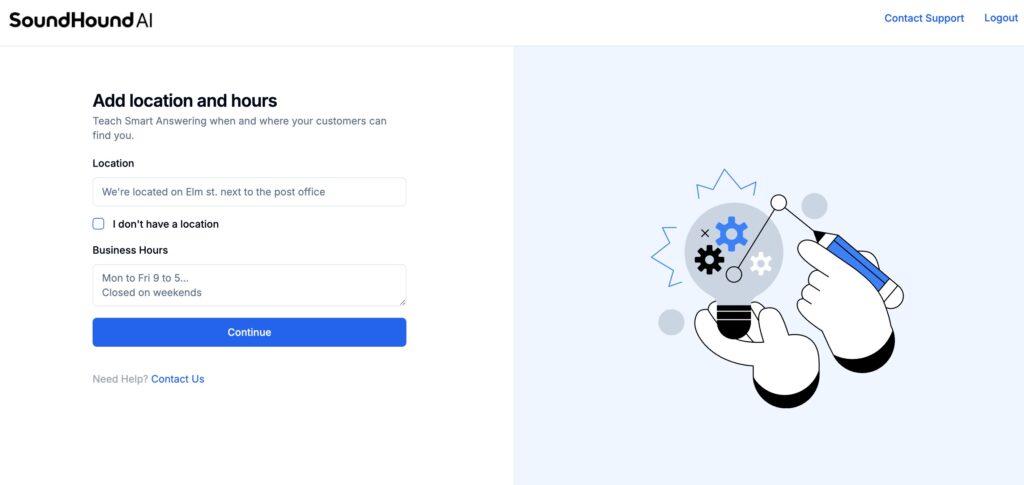
Feel free to copy and paste this information from your website. You may also type in this information using natural language.
Smart Answering is adept at understanding the diverse way that humans speak, so you can simply write “M-F, 9-5 only” and the AI assistant will know that your business is open Monday through Friday from 9am to 5pm, and closed on the weekend.
You also do not have to provide an exact address for the location. For instance, you could provide the intersection nearest your business. If you don’t have a physical store, check the box that says, “I don’t have a location.”
Now, let’s get into more detail! This next section is where you will start teaching your AI assistant how to respond to callers. Again, you may copy information from your website or company documentation, type the information directly in the text box, or copy and edit the suggested examples provided below the “Continue” button.
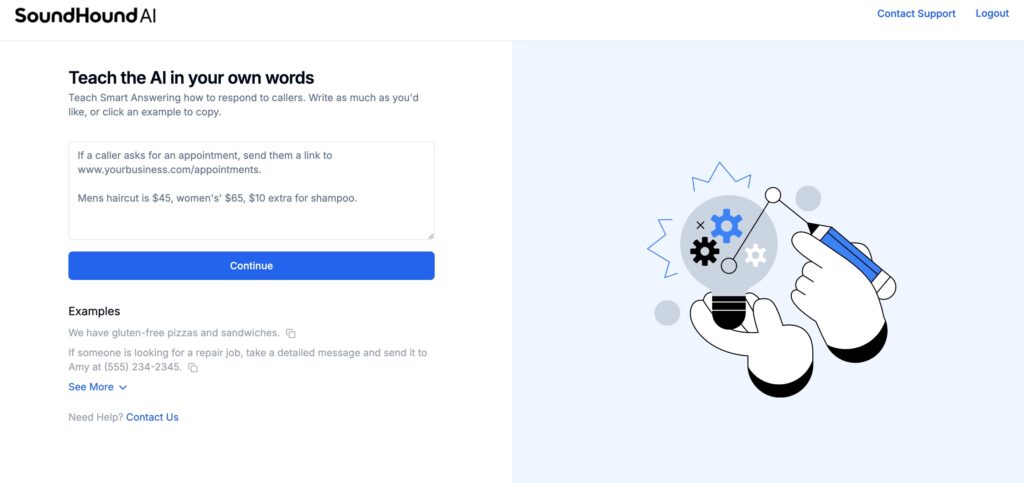
Here are some additional suggested knowledge items by industry:
At this point, your personalized Smart Answering demo is ready for its first round of tests! Click the big phone icon to call your voice assistant and test its capabilities.
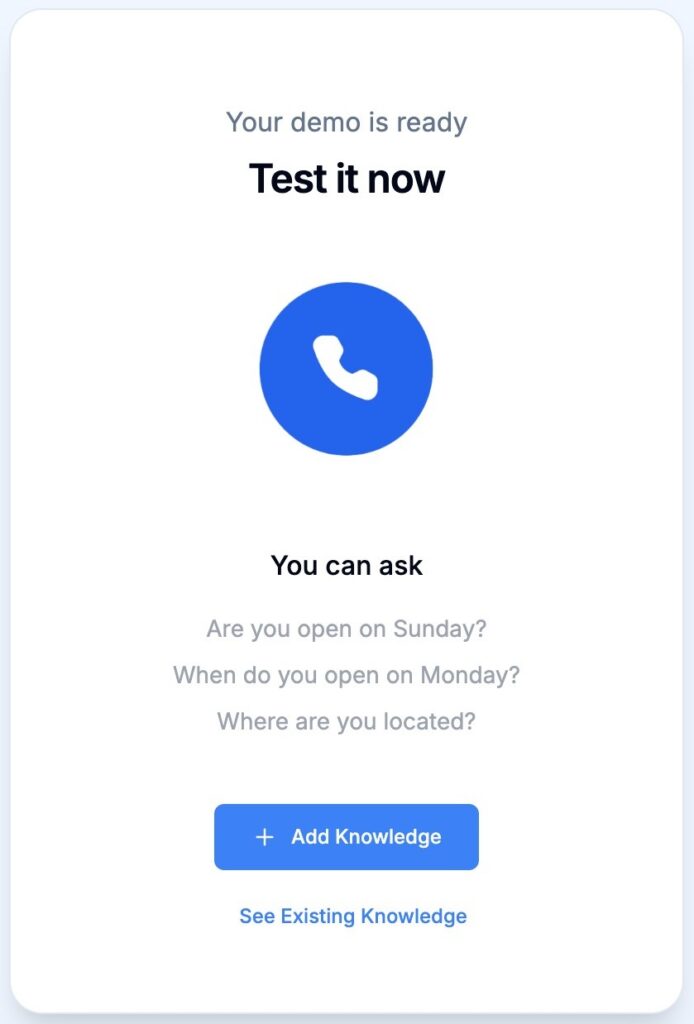
If you want to add and test more knowledge, click the “+ Add Knowledge” button. A text box will open where you can write any additional information you want to include.
Click on “See Existing Knowledge” to see the information you have provided so far:
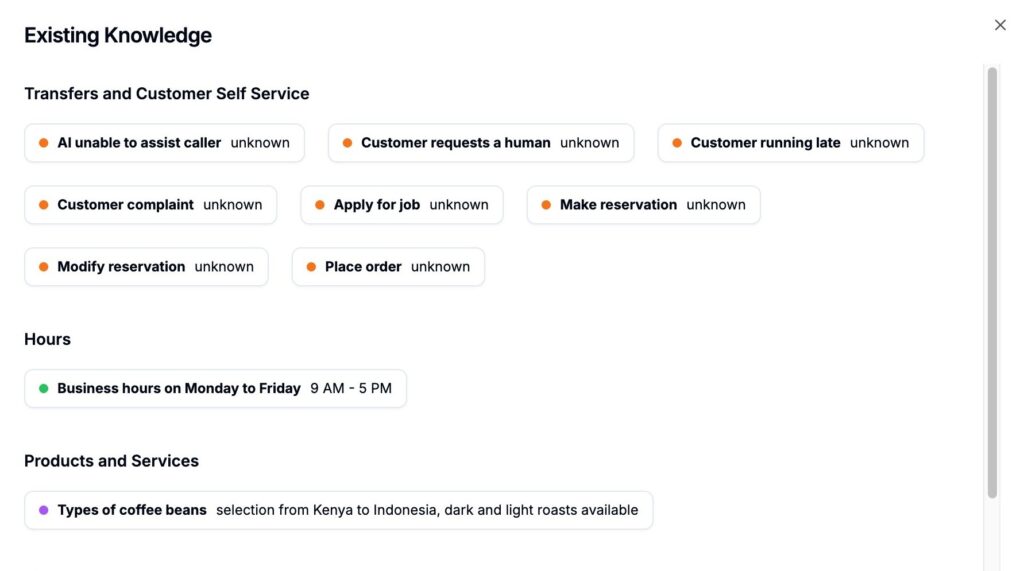
You will see that Smart Answering has categorized your existing knowledge into different labels. To edit or delete knowledge, hover over a knowledge item and click either the edit or delete icon that appears.
When you edit a knowledge item under the “Transfers and Customer Self Service” label, you have the option to add in an action.

Click the carrot (v) to test out different actions for your AI assistant to take when, for example, a customer wants to make a reservation.
The options include:
After selecting the action you want your AI assistant to take, the platform will ask you to provide the necessary information to complete the task (i.e., provide a phone number or a URL).
For knowledge items under “Hours” and “Products and Services,” you can also add links to relevant pages from your website. Hover over the knowledge item and click the link icon. In the text window that appears, paste a link to your website.
For example, if you have an “Hours of Operations” page on your website, you can add this link to a knowledge item under the “Hours” label to provide callers with more detail if needed.
The next step is to prepare and launch your new AI assistant within your business. Click “Get Started with 14 Day Trial” to begin your free trial of Smart Answering and experience the tangible benefits for your business.
Click here for Part 2, which focuses on building out your AI Knowledge.
Subscribe today to stay informed and get regular updates from SoundHound Inc.